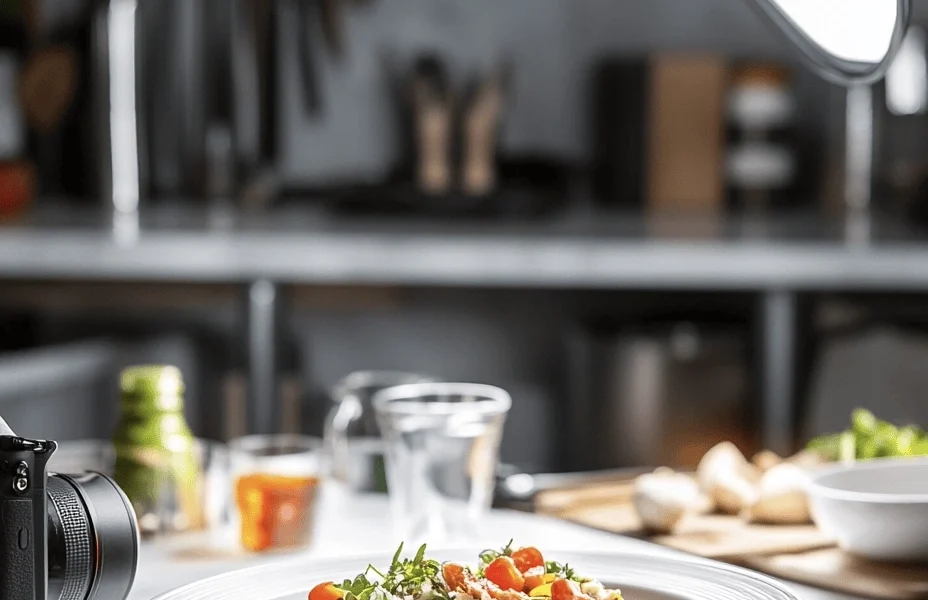
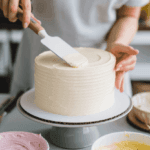
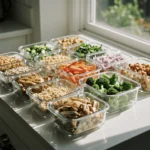
Have you ever made a beautiful dish, snapped a quick photo, and wondered why it doesn’t look as good as it does in real life? Don’t worry—you’re not alone! Food photography is an art that combines lighting, composition, styling, and editing to make dishes look mouthwatering.
The good news? You don’t need a professional studio or an expensive camera to take stunning food photos. With a few key techniques, you can elevate your shots—whether for your blog, Instagram, or personal portfolio.
In this ultimate guide, we’ll cover everything from lighting tricks to composition hacks that will transform your food photography. Let’s get started!
1. Natural Light is Your Best Friend
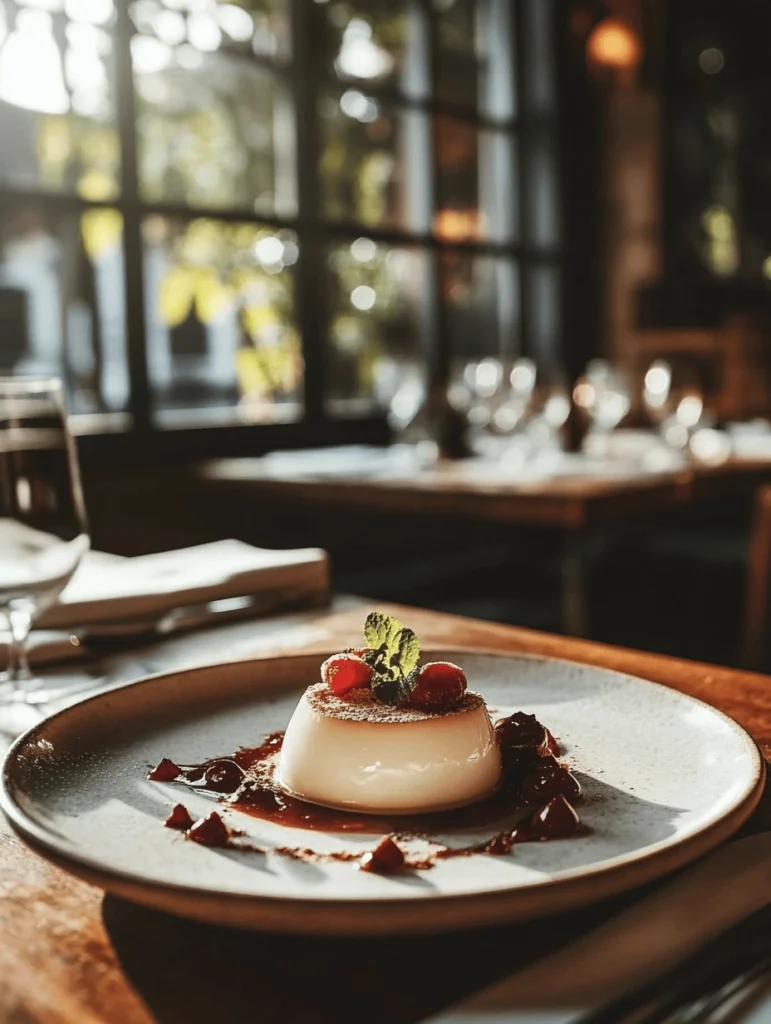
Lighting is the #1 factor in great food photography. Natural light (from a window or outdoor setting) is ideal because it’s soft, even, and brings out the true colors of food.
Best Practices for Natural Light:
✅ Use Indirect Light: Direct sunlight can create harsh shadows. Instead, place your dish near a window with diffused light.
✅ Time of Day Matters: The best light for food photography is usually in the morning or late afternoon when the sun is softer.
✅ Avoid Artificial Kitchen Lights: Overhead lights can make food look yellowish or flat. Always turn them off and rely on window light instead.
Pro Tip: If the light is too harsh, place a thin white curtain or a piece of parchment paper over the window to diffuse it!
2. Master Composition & Angles
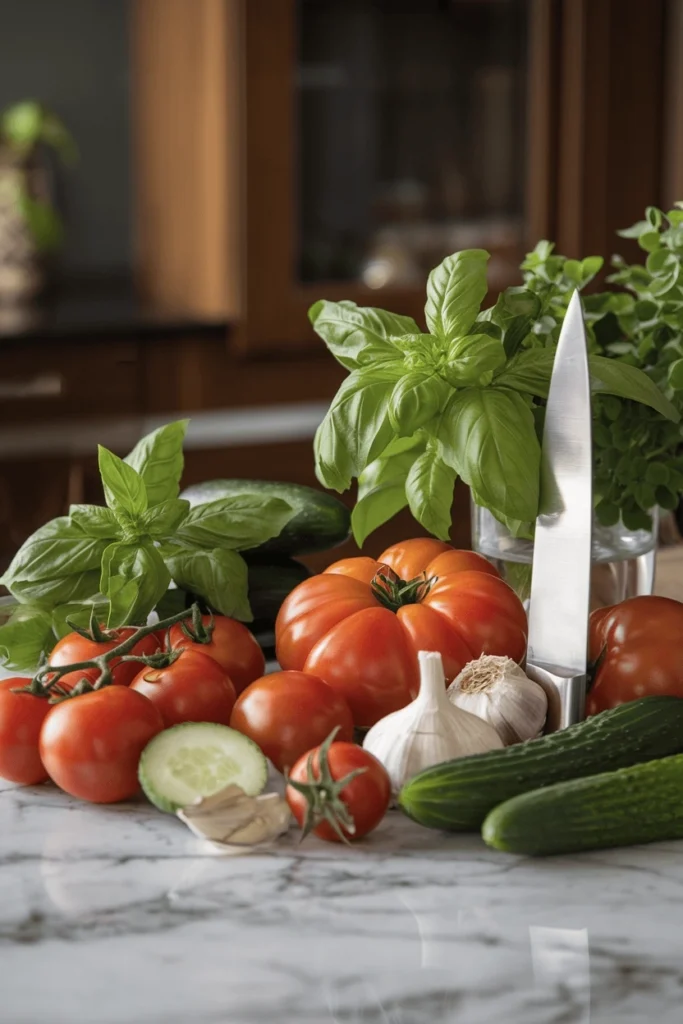
How you frame and position your food makes a huge difference. Here are the best angles to use:
Top 3 Food Photography Angles:
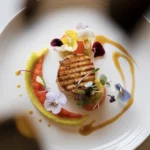
📌 Overhead (Flat Lay): Perfect for flat dishes like pizzas, smoothie bowls, or charcuterie boards.
📌 45-Degree Angle: The most versatile—great for plates with depth, like pasta or cakes.
📌 Straight-On: Ideal for layered dishes like burgers, sandwiches, and stacked pancakes.
Pro Tip: Take a test shot from different angles before deciding on the best one!
3. The Power of Composition: Make Your Photos Visually Appealing
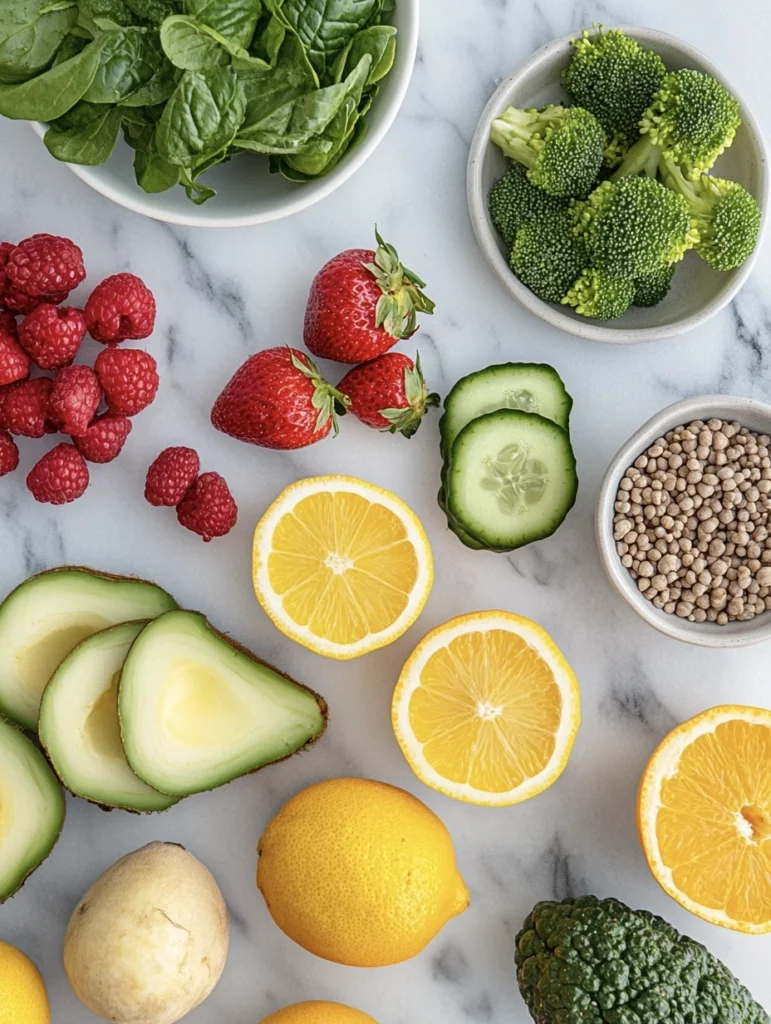
A well-composed shot can turn an average dish into a showstopper. Use these techniques:
The Rule of Thirds
📌 Imagine a grid dividing your image into nine equal sections. Place the main dish slightly off-center to create a more dynamic composition.
Leading Lines
📌 Use elements like utensils, napkins, or sauce drizzles to draw the viewer’s eye toward the main dish.
Negative Space
📌 Don’t overcrowd your frame—empty space around the food helps highlight the dish.
Pro Tip: Try composing the scene before placing the food to see what works best!
4. Food Styling: Make Your Dishes Look Irresistible
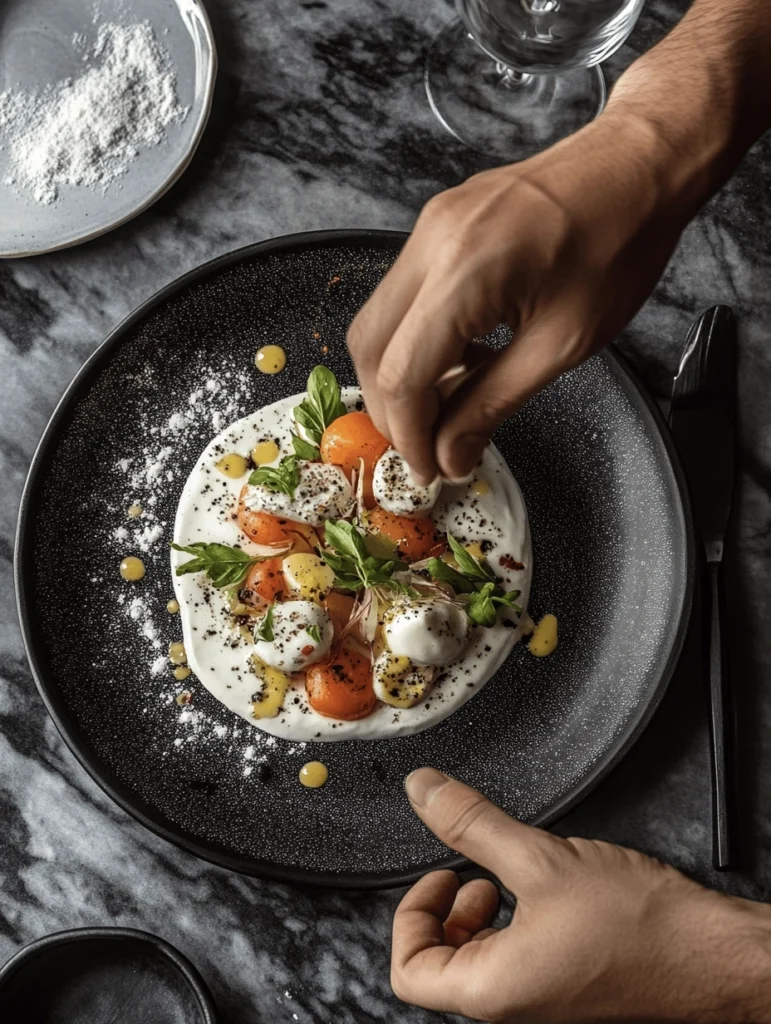
Even the most delicious dish can look unappetizing if not styled well. Here’s how to make it pop:
How to Style Food Like a Pro:
✅ Garnish Wisely: Add herbs, edible flowers, or spices for contrast and freshness.
✅ Use Fresh Ingredients: Food wilts fast under lights! Keep it looking fresh by brushing meats with oil or spritzing fruits with water.
✅ Emphasize Texture: Show layers by breaking apart a cookie or cutting into a dish to reveal a gooey center.
Pro Tip: Less is more—avoid clutter and let the food shine!
5. The Secret to Perfect Backgrounds & Props
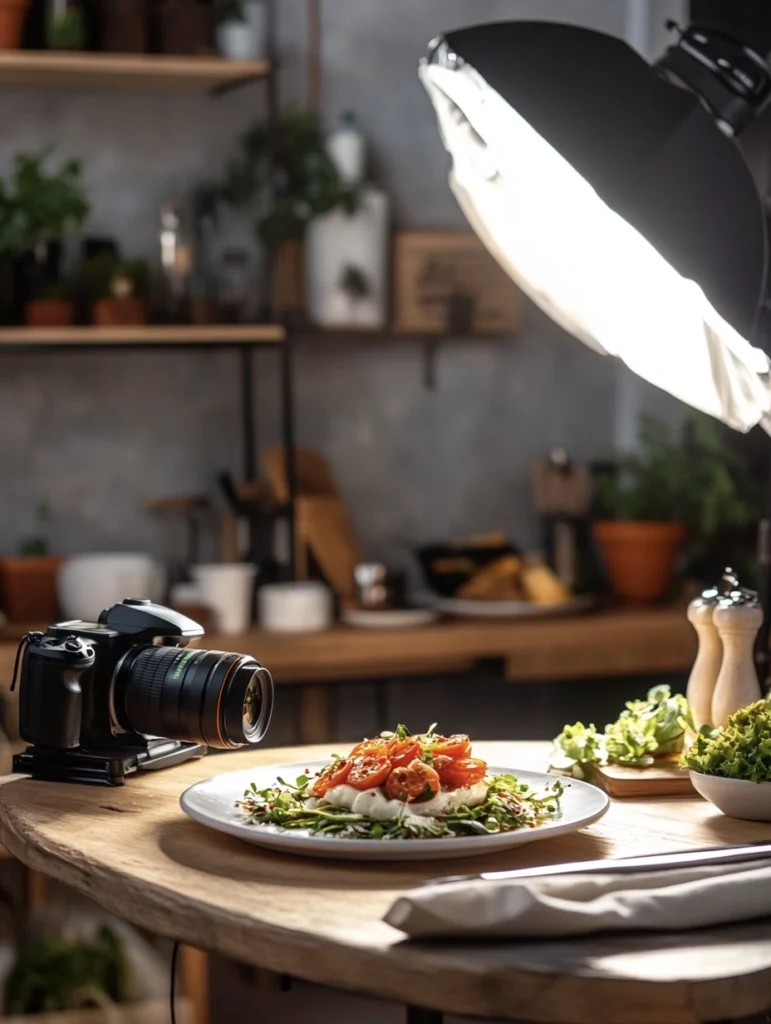
Your background and props should complement—not distract from—the food.
Best Backgrounds for Food Photography:
✅ Neutral Backdrops: White, black, or wood work well for most dishes.
✅ Textured Surfaces: Marble, slate, or rustic wooden boards add depth.
✅ DIY Backdrops: Use baking sheets, parchment paper, or fabric for a unique look.
Essential Props for Food Photography:
✔ Simple ceramic plates (avoid glossy finishes)
✔ Wooden cutting boards
✔ Neutral-toned napkins
✔ Small utensils for subtle storytelling
Pro Tip: Stick to one main color theme to keep the image cohesive!
6. Editing Magic: Enhancing Your Photos
Even a well-shot image can benefit from a little post-processing. You don’t need fancy software—apps like Lightroom Mobile, Snapseed, or VSCO work great!
Basic Editing Steps:
🔹 Adjust Brightness & Contrast: Make colors pop without overexposing.
🔹 Sharpen the Image: A little sharpening makes textures stand out.
🔹 Correct White Balance: Ensure the food’s colors look natural, not too yellow or blue.
🔹 Remove Distractions: Crop out unnecessary elements for a cleaner look.
Pro Tip: Avoid heavy filters—keep the food looking natural and fresh!
7. Common Food Photography Mistakes (And How to Fix Them!)
🚫 Dull Lighting? Move closer to a window or use a white reflector (or a piece of foam board) to bounce light.
🚫 Food Looks Messy? Wipe plate edges and use small tools like tweezers for precise garnishing.
🚫 Colors Look Off? Adjust white balance in editing for natural hues.
🚫 Flat-Looking Photos? Increase contrast and sharpness to make textures pop.
Bonus: Food Photography Gear for Every Budget
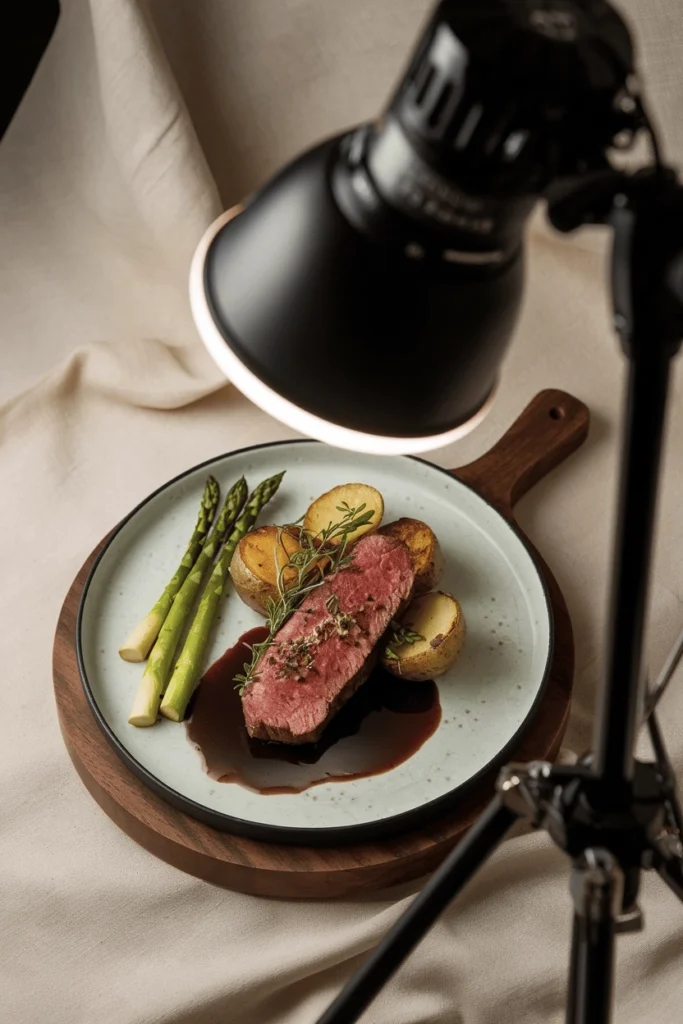
💰 Beginner: Smartphone + natural light + white foam board for reflections
💰💰 Intermediate: DSLR or mirrorless camera + 50mm lens + tripod
💰💰💰 Pro: Softbox lighting + professional lenses + Lightroom for editing
Pro Tip: You don’t need an expensive camera—many food bloggers use iPhones with great results!
Start Capturing Stunning Food Photos Today!
Great food photography is all about lighting, styling, and composition—and with a little practice, you’ll be capturing stunning shots in no time. Whether you’re a food blogger, content creator, or just love sharing your meals, these tips will transform your photos and make your dishes look as good as they taste!
📸 Ready to level up your food photography? Try these techniques and tag us in your food photos—we’d love to see them!

