Decorating a cake can feel intimidating if you’ve never done it before, but don’t worry—you don’t need professional skills to create a stunning homemade cake! With a few simple techniques, the right tools, and some easy tricks, you’ll be piping and decorating like a pro in no time.
Whether you’re making a birthday cake, celebration cake, or just want to level up your baking skills, this guide will help you overcome nerves, learn the basics, and create a cake that looks as good as it tastes!
1. Essential Cake Decorating Tools for Beginners
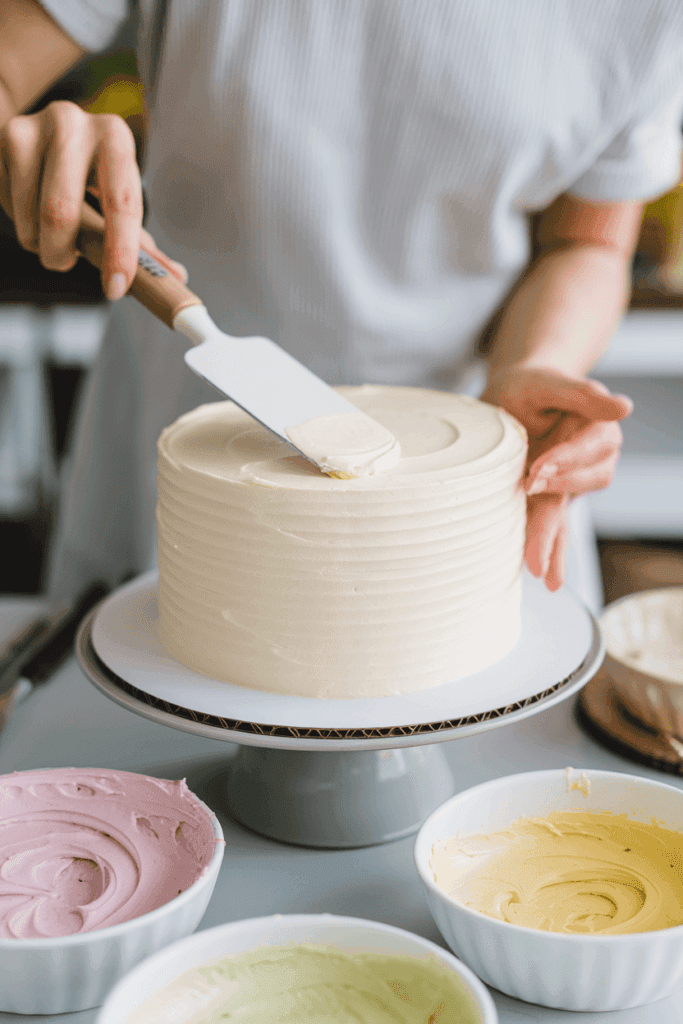
You don’t need a kitchen full of fancy equipment to get started! Here are the must-have tools for stress-free decorating:
✔ Offset spatula – Helps spread buttercream smoothly and evenly.
✔ Bench scraper (optional but helpful) – For a perfectly smooth cake finish.
✔ Piping bags – Disposable or reusable, used for adding decorative elements.
✔ Piping tips – Different shapes allow for fun and easy designs (we’ll cover the best beginner-friendly ones below!).
✔ Cake turntable (optional but recommended) – Makes frosting and piping much easier.
✔ Cake board or serving plate – Holds your cake in place while decorating.
✔ Sprinkles & edible decorations – For instant flair with zero effort!
Pro Tip: If you don’t have a piping bag, you can use a ziplock bag and snip the corner for simple designs.
2. Getting Comfortable with Buttercream
Before you start piping, it’s important to have the right buttercream consistency. Here’s what you need to know:
✅ Too stiff? Add 1 teaspoon of milk or cream at a time and mix until smooth.
✅ Too runny? Chill it in the fridge for 5-10 minutes until it firms up.
✅ Perfect consistency? Your buttercream should be soft, smooth, and hold its shape when piped.
Pro Tip: Practice first! Pipe a few swirls onto parchment paper or a plate to get a feel for the pressure and movement before decorating your cake.
3. Beginner-Friendly Piping Techniques
You don’t need years of experience to create a beautifully decorated cake! Here are three easy piping styles that any beginner can master with minimal effort.
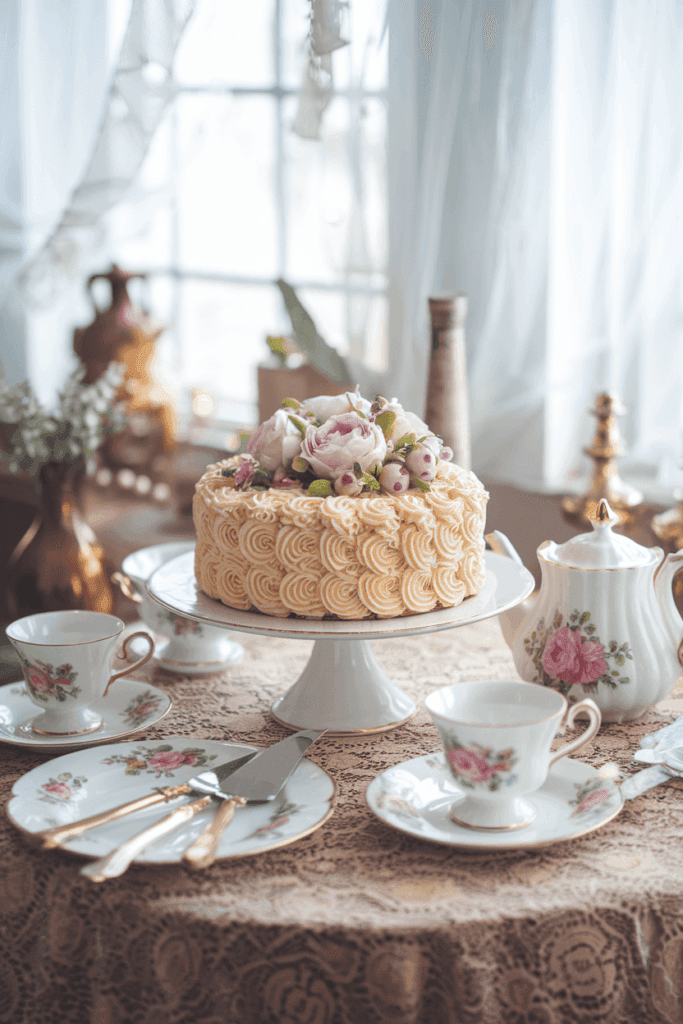
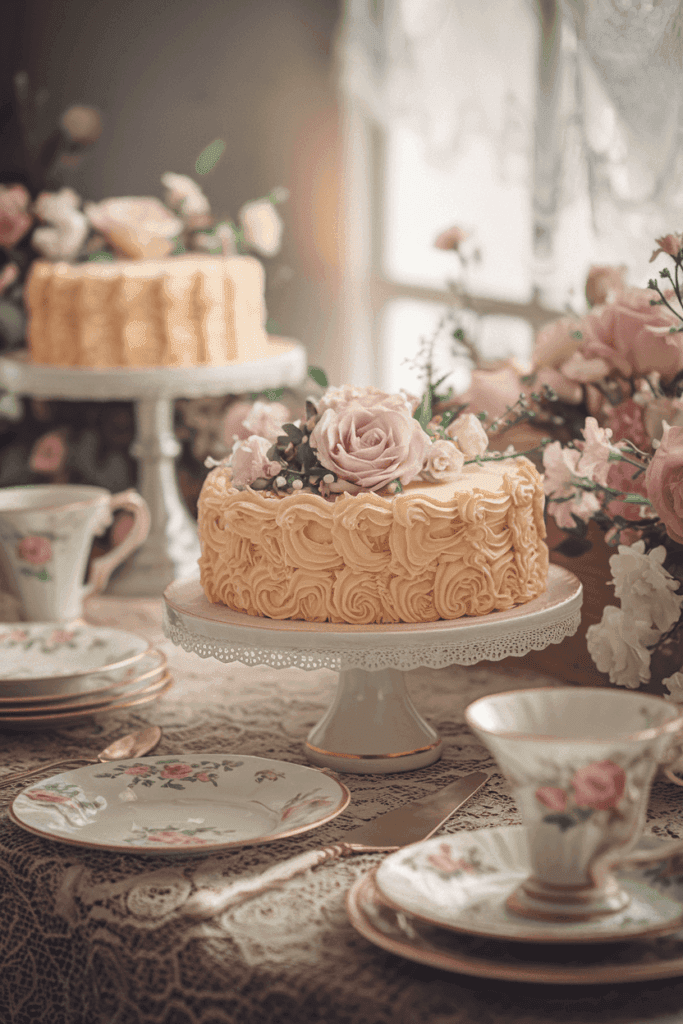
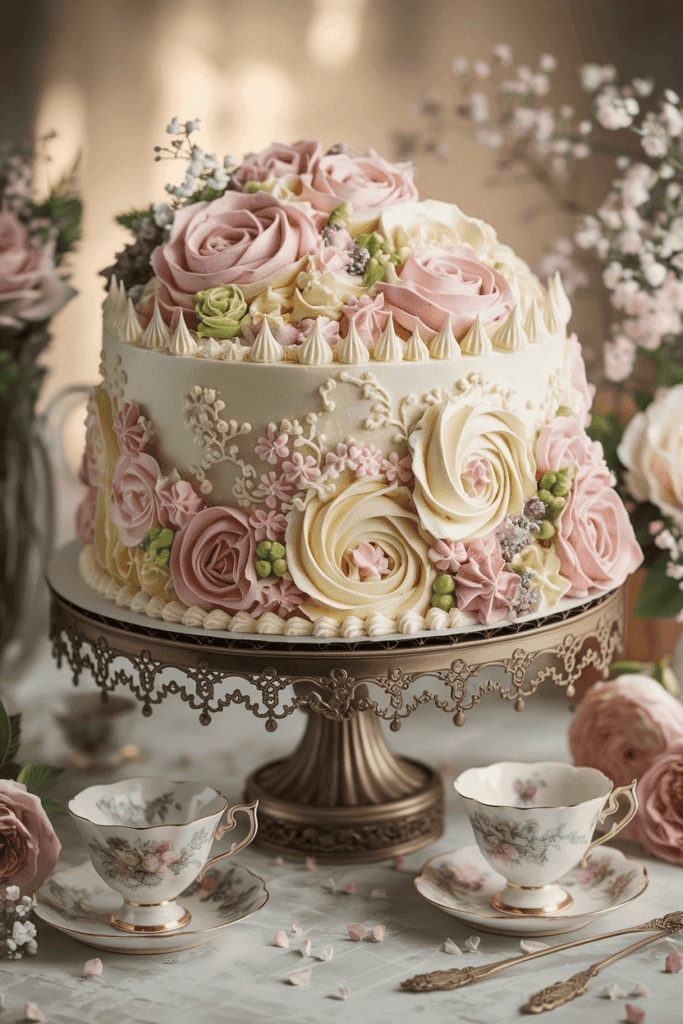
1️⃣ Classic Rosettes – The Easiest & Most Elegant Look
🌟 Best Tip to Use: Large Open Star Tip (Wilton 1M or 2D)
🌟 Perfect For: Top of the cake, sides, or a simple floral border
🔹 How to Pipe Rosettes:
1️⃣ Hold the piping bag at a 90-degree angle (straight up) to the cake.
2️⃣ Squeeze the bag to form a small star in the center.
3️⃣ Without releasing pressure, pipe in a circular motion around the center star, spiraling outward.
4️⃣ Once the rosette is the size you want, release pressure and lift the tip away.
5️⃣ Repeat in a row along the cake border or scatter them across the top for a floral effect.
🎂 Pro Tip: Keep consistent pressure and make sure each rosette is evenly spaced for a polished look.
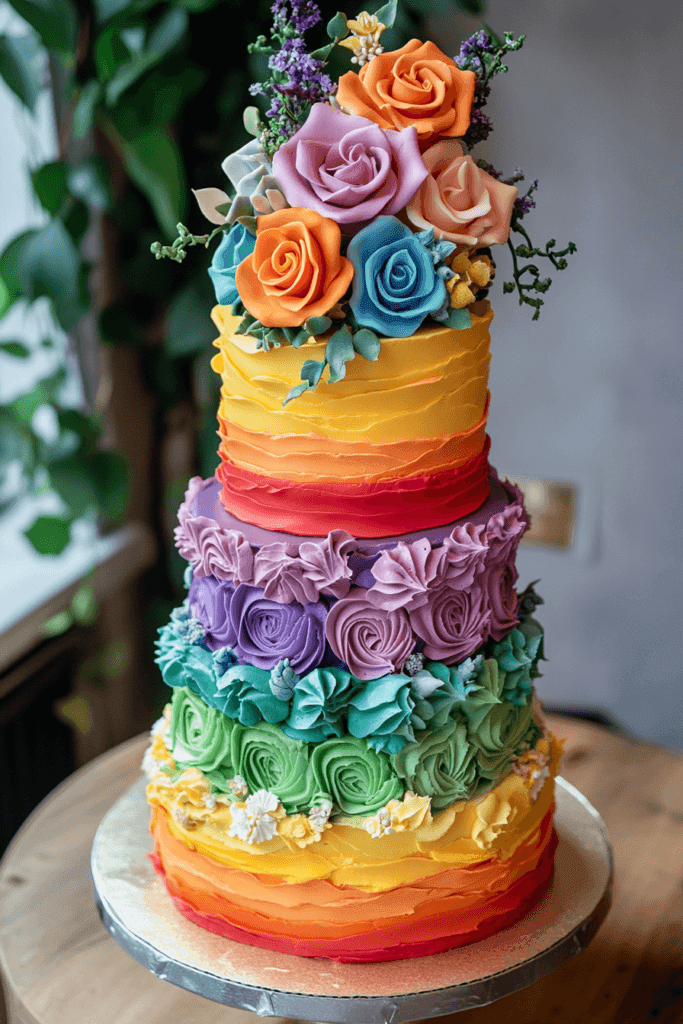
2️⃣ Ruffle Border – Soft, Beautiful & Elegant
🌟 Best Tip to Use: Petal Tip (Wilton 104)
🌟 Perfect For: A feminine, flowing cake edge or a ribbon effect on the sides
🔹 How to Pipe a Ruffle Border:
1️⃣ Hold the piping bag at a 45-degree angle to the cake, with the wide end of the petal tip facing the cake and the narrow end facing outward.
2️⃣ Apply gentle pressure and move the tip in a gentle wave motion, letting the buttercream naturally form soft ruffles.
3️⃣ Continue around the cake for a delicate, fabric-like effect.
🎂 Pro Tip: The slower you move, the fuller the ruffles will be. For a tight ruffle look, pipe faster!
3️⃣ Fancy Pearl Dots – Clean, Simple & Elegant
🌟 Best Tip to Use: Round Tip (Wilton 12 or Wilton 3 for mini pearls)
🌟 Perfect For: A classic pearl border or delicate dots along the sides
🔹 How to Pipe a Pearl Dot Border:
1️⃣ Hold the piping bag at a 90-degree angle and position the tip just above the cake surface.
2️⃣ Squeeze gently until a small dot forms, then release and lift away.
3️⃣ Space dots evenly along the cake edge for a pearl necklace effect or scatter them randomly for a modern, minimalist touch.
🎂 Pro Tip: If the dots have a peak, dip a clean fingertip in water and lightly press them down for a smoother, rounder finish.
4. Decorating Tricks to Instantly Elevate Your Cake
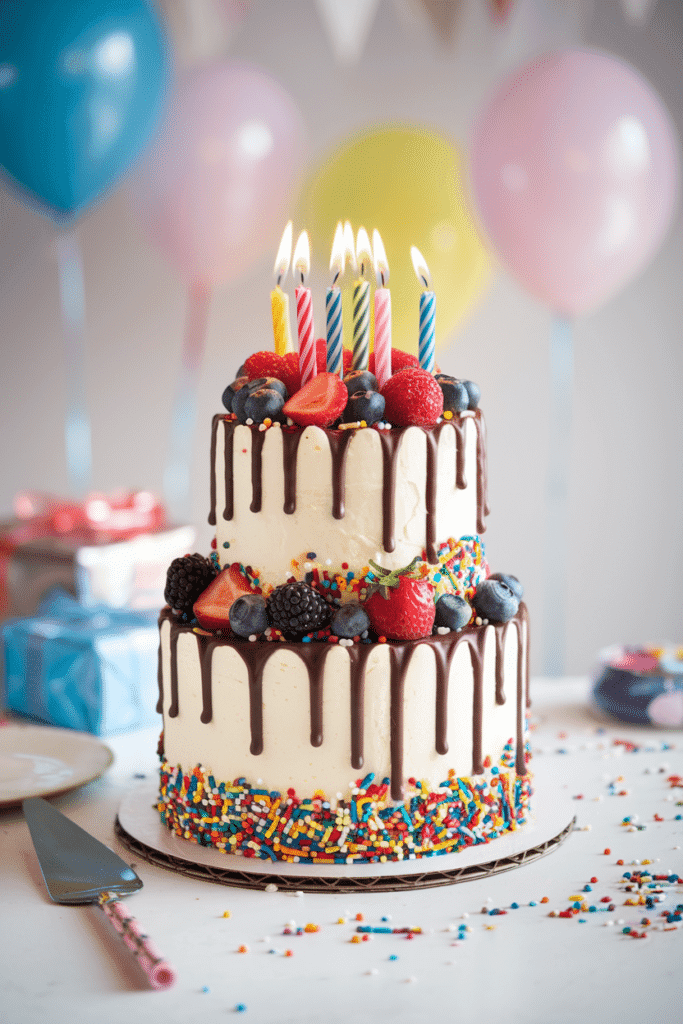
Even if you’re not confident with piping, these simple tricks will make your cake look professional with minimal effort:
✔ Sprinkles: A rainbow sprinkle border or lightly tossing sprinkles over the top adds instant fun!
✔ Edible Gold Leaf: Press a few gold flakes onto the cake for an ultra-luxurious look.
✔ Drip Glaze: Pour white or dark chocolate ganache over the top and let it drip down the sides.
✔ Fresh Fruit: Sliced strawberries, blueberries, or raspberries create a beautiful natural decoration.
✔ Two-Tone Buttercream: Fill one side of your piping bag with one color and the other side with a second color for a stunning swirled effect when piped.
5. Final Tips for Nervous Beginners
✅ Chill the Cake First – A slightly chilled cake is easier to decorate because the frosting stays firm.
✅ Start Simple – Try a buttercream-covered cake with sprinkles before moving to piped designs.
✅ Fixing Mistakes is Easy! – Scrape off any messy frosting with a spatula and try again—no one will ever know!
✅ Confidence Comes with Practice – Every baker starts somewhere! Have fun and don’t stress about perfection.
Ready to Decorate? Let’s Do This!
Decorating a cake doesn’t have to be scary—with the right tools, a little practice, and these easy beginner-friendly techniques, you’ll be amazed at what you can create. Whether you’re making a simple birthday cake or a showstopping celebration cake, your homemade creation will always be special and beautiful in its own way.
