Get ready to impress your guests this Easter with some delightful dessert ideas! These amazing treats are sure to add a sweet touch to your celebrations, featuring fun flavors, charming presentations, and that extra pinch of holiday spirit. From colorful cakes to playful cookies, there’s something here for everyone to enjoy!
Marble Easter Egg Cookies

Marble Easter Egg Cookies are a fun and festive treat perfect for celebrating the holiday. These sugar cookies are soft and buttery, featuring a colorful marbled icing that brings a playful touch to your dessert table. The combination of sweet flavors and vibrant colors makes them a delightful addition to any Easter gathering.
Making these cookies is simple and enjoyable, especially if you’re involving kids in the kitchen. The artistic icing process allows for creativity, and everyone will love the delicious results!
Ingredients
- 2 3/4 cups all-purpose flour
- 1 teaspoon baking soda
- 1/2 teaspoon baking powder
- 1 cup unsalted butter, softened
- 1 1/2 cups white sugar
- 1 egg
- 1 teaspoon vanilla extract
- 1/2 teaspoon almond extract
- 3-4 cups powdered sugar
- 2-3 tablespoons milk
- Food coloring (various colors)
- Sprinkles (optional)
Instructions
- Prepare the Cookie Dough: In a bowl, whisk together flour, baking soda, and baking powder. In a separate bowl, cream together butter and sugar until smooth. Beat in the egg and stir in vanilla and almond extracts. Gradually add the dry ingredients to the wet ingredients and mix until well combined.
- Shape and Bake: Preheat your oven to 375°F (190°C). Roll dough into balls and place them on ungreased cookie sheets. Flatten them slightly. Bake for 8-10 minutes until golden around the edges. Allow to cool on wire racks.
- Make the Icing: In a bowl, mix powdered sugar and milk until you achieve a thick consistency. Divide the icing into separate bowls and add food coloring to each for desired colors.
- Decorate: Dip the cooled cookies in the icing or use a piping bag to swirl the colors on top. Add sprinkles if desired. Let the icing set before serving!
Pavlova Nest with Fresh Berries
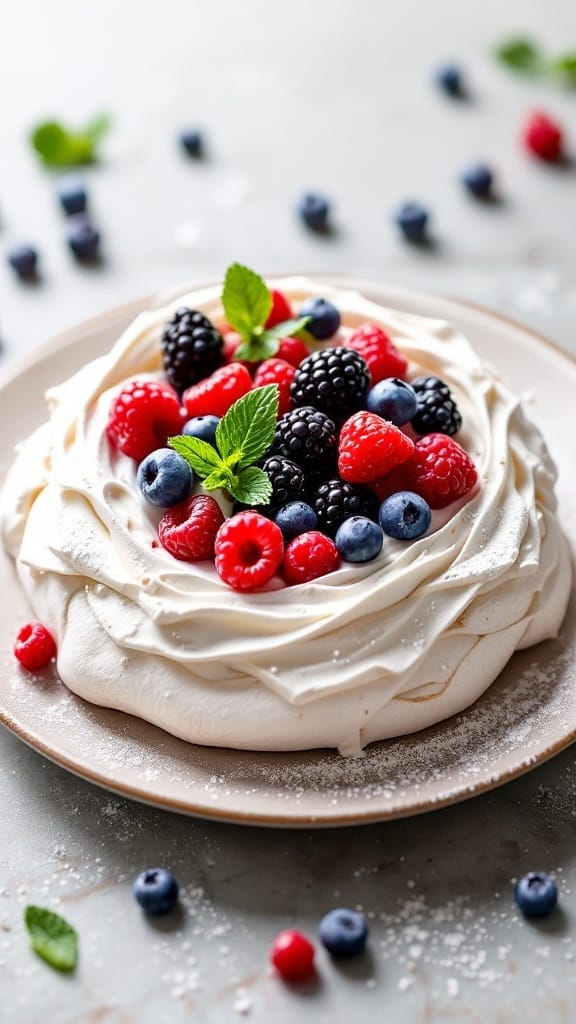
Pavlova is a delightful dessert that brings a light, airy texture and a sweet, crispy exterior, making it a perfect choice for festive occasions like Easter. This dessert features a base made from whipped egg whites and sugar, creating a meringue that forms a beautiful nest, ready to be filled with fresh, vibrant berries.
The combination of the sweet meringue and the tartness of the berries creates a delicious balance of flavors. Plus, it’s simple to make and can be prepared ahead of time, allowing you to spend more time enjoying the holiday with family and friends.
Ingredients
- 4 large egg whites
- 1 cup granulated sugar
- 1 teaspoon vanilla extract
- 1 teaspoon cornstarch
- 1 tablespoon white vinegar
- 1 cup heavy whipping cream
- 2 tablespoons powdered sugar
- 2 cups mixed fresh berries (strawberries, blueberries, raspberries, blackberries)
- Mint leaves for garnish (optional)
Instructions
- Preheat the oven to 250°F (120°C). Line a baking sheet with parchment paper and draw a 9-inch circle on the paper as a guide.
- In a large bowl, beat the egg whites until soft peaks form. Gradually add granulated sugar, continuing to beat until stiff peaks form. Mix in the vanilla extract, cornstarch, and vinegar until well combined.
- Transfer the meringue to the prepared baking sheet. Shape it into a nest by spreading it within the drawn circle and creating a slight dip in the center.
- Bake for 1 hour, then turn off the oven and let the meringue cool completely inside the oven.
- Once cooled, whip the heavy cream with powdered sugar until soft peaks form. Spoon the whipped cream into the center of the meringue nest.
- Top with fresh berries and garnish with mint leaves, if desired. Serve immediately or refrigerate until ready to serve.
Lemon Meringue Pie with Easter Touch
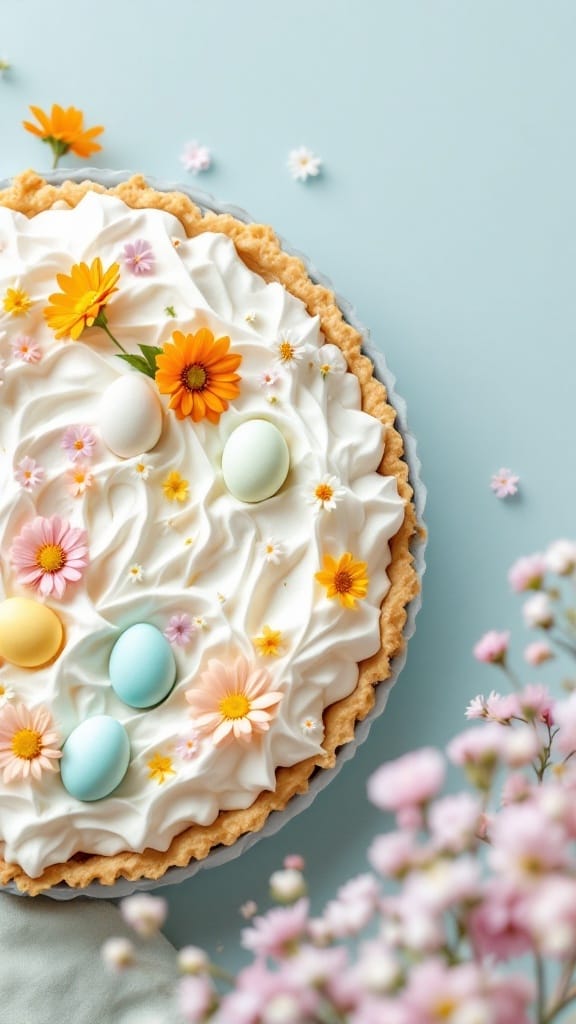
Lemon meringue pie is a delightful treat that brings a zesty kick to any gathering. Its bright, tangy lemon filling pairs perfectly with a light, airy meringue topping, making each bite a refreshing experience. Adding an Easter touch with pastel decorations and flowers not only enhances its visual appeal but also makes it a festive centerpiece for your holiday table.
This dessert is simple to make, combining a buttery crust with a luscious lemon filling and a fluffy meringue that’s easy to whip up. It’s perfect for both seasoned bakers and those just starting out. With a little time and a few ingredients, you can create a pie that’s sure to impress your family and friends!
Ingredients
- 1 pre-made pie crust
- 1 cup granulated sugar
- 2 tablespoons cornstarch
- 1 1/2 cups water
- 3 egg yolks, beaten
- 1/2 cup fresh lemon juice
- 1 tablespoon lemon zest
- 2 tablespoons butter
- 3 egg whites
- 1/4 teaspoon cream of tartar
- 1/4 cup powdered sugar
Instructions
- Preheat your oven to 350°F (175°C). Bake the pie crust according to package instructions until golden brown. Let it cool.
- In a saucepan, whisk together sugar, cornstarch, and water. Cook over medium heat, stirring until it thickens. Mix a small amount of the hot mixture into the beaten egg yolks to temper them, then gradually add the yolk mixture back into the saucepan. Stir in lemon juice, zest, and butter until smooth.
- Pour the lemon filling into the cooled pie crust.
- In a clean bowl, beat egg whites with cream of tartar until soft peaks form. Gradually add powdered sugar and continue to beat until stiff peaks form.
- Spread the meringue over the lemon filling, making sure it touches the edge of the crust to prevent shrinking. Bake for 10-12 minutes until golden brown.
- Allow the pie to cool before decorating with pastel candies and edible flowers for an Easter touch!
Easter Egg Cheesecake
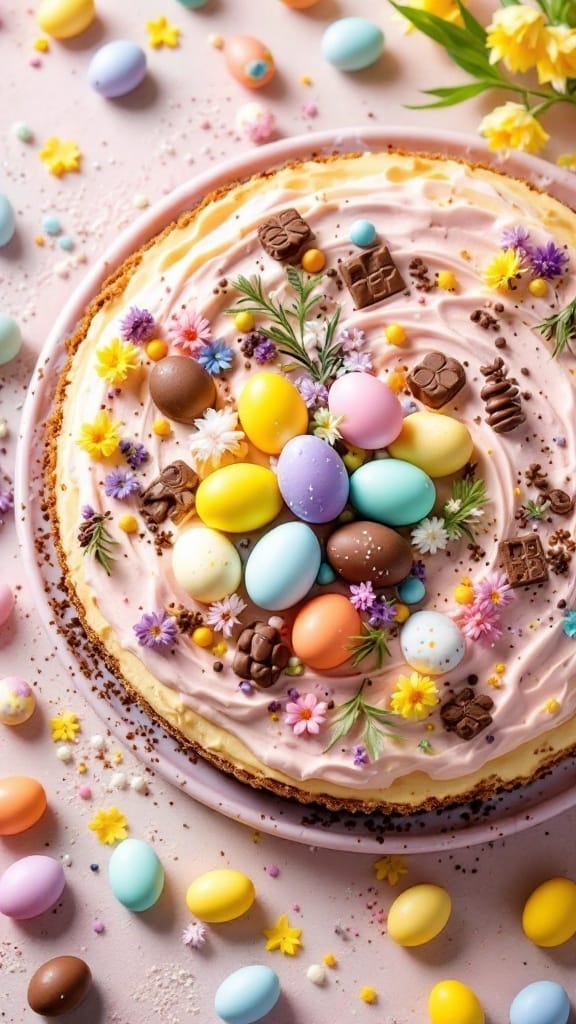
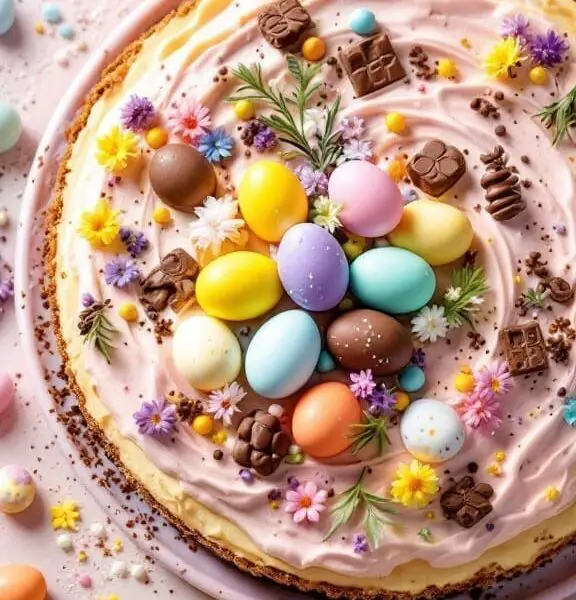
This Easter Egg Cheesecake is a delightful treat that perfectly captures the spirit of the season. With its creamy texture and rich flavor, it’s like a bite of spring on your plate. The combination of a classic cheesecake base topped with colorful chocolate eggs and fresh decorations makes it visually stunning and irresistible.
Making this cheesecake is simpler than you might think. It requires just a few ingredients and can be prepared ahead of time, allowing you to enjoy the festivities without stress. Whether you’re hosting a gathering or simply treating your family, this dessert is sure to impress!
Ingredients
- 1 1/2 cups graham cracker crumbs
- 1/2 cup unsalted butter, melted
- 2 cups cream cheese, softened
- 1 cup granulated sugar
- 1 teaspoon vanilla extract
- 3 large eggs
- 1 cup sour cream
- 1/2 cup heavy cream
- 1 cup assorted mini chocolate eggs (for topping)
- Edible flowers and fresh herbs (for decoration)
Instructions
- Preheat your oven to 325°F (160°C). In a bowl, mix the graham cracker crumbs and melted butter until well combined. Press this mixture firmly into the bottom of a 9-inch springform pan to form the crust.
- In a large mixing bowl, beat the cream cheese until smooth. Gradually add the sugar and vanilla, mixing until well blended. Add the eggs one at a time, ensuring each is fully incorporated before adding the next. Finally, mix in the sour cream and heavy cream until the batter is smooth.
- Pour the cream cheese mixture over the prepared crust and smooth the top. Bake for 50-60 minutes or until the center is set but slightly jiggles. Turn off the oven and leave the cheesecake inside for another hour.
- Remove from the oven and let it cool to room temperature. Refrigerate for at least 4 hours or overnight to set.
- Before serving, top the cheesecake with assorted chocolate eggs, edible flowers, and fresh herbs for a festive look. Enjoy your sweet celebration!
Coconut Cream Easter Dessert Cups
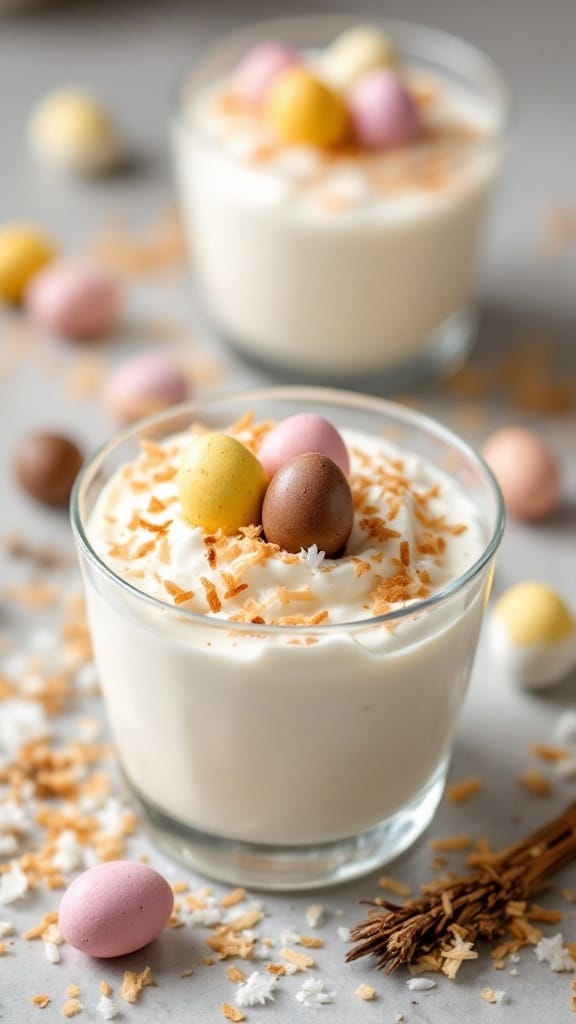
Coconut Cream Easter Dessert Cups are a delightful treat that perfectly capture the flavors of spring. These creamy cups are smooth, light, and topped with colorful chocolate eggs, giving them a festive touch. With a rich coconut flavor and a touch of sweetness, they are sure to please both kids and adults alike.
This dessert is not only delicious but also simple to whip up. With just a few ingredients and minimal prep time, you can create a show-stopping treat for your Easter gathering. Enjoy these cups chilled for the best flavor experience!
Ingredients
- 1 cup heavy whipping cream
- 1 cup coconut milk
- 1/4 cup powdered sugar
- 1 teaspoon vanilla extract
- 1 cup shredded coconut, toasted
- Chocolate eggs for topping
Instructions
- In a mixing bowl, whip the heavy cream until soft peaks form.
- Add the coconut milk, powdered sugar, and vanilla extract; continue to whip until well combined and fluffy.
- Gently fold in the toasted shredded coconut.
- Divide the mixture evenly into dessert cups and chill in the refrigerator for at least 1 hour.
- Before serving, top with additional toasted coconut and chocolate eggs for a festive touch.
Decadent Easter Chocolate Cake Recipe

This Easter chocolate cake features layers of moist chocolate sponge cake filled with luscious chocolate ganache and frosted with creamy vanilla buttercream. It’s a showstopper that is both visually appealing and deliciously satisfying, perfect for any festive occasion.
Ingredients
- 1 ¾ cups all-purpose flour
- 1 ¾ cups granulated sugar
- ¾ cup unsweetened cocoa powder
- 1 ½ teaspoons baking powder
- 1 ½ teaspoons baking soda
- 1 teaspoon salt
- 2 large eggs
- 1 cup whole milk
- ½ cup vegetable oil
- 2 teaspoons vanilla extract
- 1 cup boiling water
- 1 cup heavy cream (for ganache)
- 8 ounces semi-sweet chocolate, chopped (for ganache)
- 2 cups unsalted butter, softened (for frosting)
- 4 cups powdered sugar (for frosting)
- 2 teaspoons vanilla extract (for frosting)
Instructions
- Preheat the Oven: Preheat your oven to 350°F (175°C). Grease and flour three 9-inch round cake pans.
- Mix Dry Ingredients: In a large bowl, combine flour, sugar, cocoa powder, baking powder, baking soda, and salt.
- Add Wet Ingredients: Add eggs, milk, oil, and vanilla extract to the dry ingredients. Mix until well combined. Gradually stir in boiling water until smooth.
- Bake the Cakes: Divide the batter evenly among the prepared pans. Bake for 30-35 minutes or until a toothpick inserted into the center comes out clean. Allow cakes to cool in the pans for 10 minutes before transferring to wire racks to cool completely.
- Prepare the Ganache: Heat the heavy cream until just simmering, then pour it over the chopped chocolate. Let it sit for a few minutes, then stir until smooth and glossy. Allow to cool to room temperature.
- Make the Frosting: In a large bowl, beat the softened butter until light and fluffy. Gradually add powdered sugar and beat until well combined. Mix in vanilla extract.
- Assemble the Cake: Place one layer of chocolate cake on a serving plate. Spread a layer of ganache on top, then add the second layer of cake. Repeat with ganache and the final layer of cake on top.
- Frost the Cake: Use the vanilla buttercream frosting to frost the top and sides of the cake. Decorate as desired for Easter festivities.
- Serve: Slice and enjoy your gorgeous Easter chocolate cake with family and friends!
Cook and Prep Times
- Prep Time: 30 minutes
- Cook Time: 35 minutes
- Total Time: 1 hour 5 minutes
Nutrition Information
- Servings: 12 slices
- Calories: 450kcal
- Fat: 25g
- Protein: 5g
- Carbohydrates: 55g
Spring Fruit Tart with Vanilla Cream
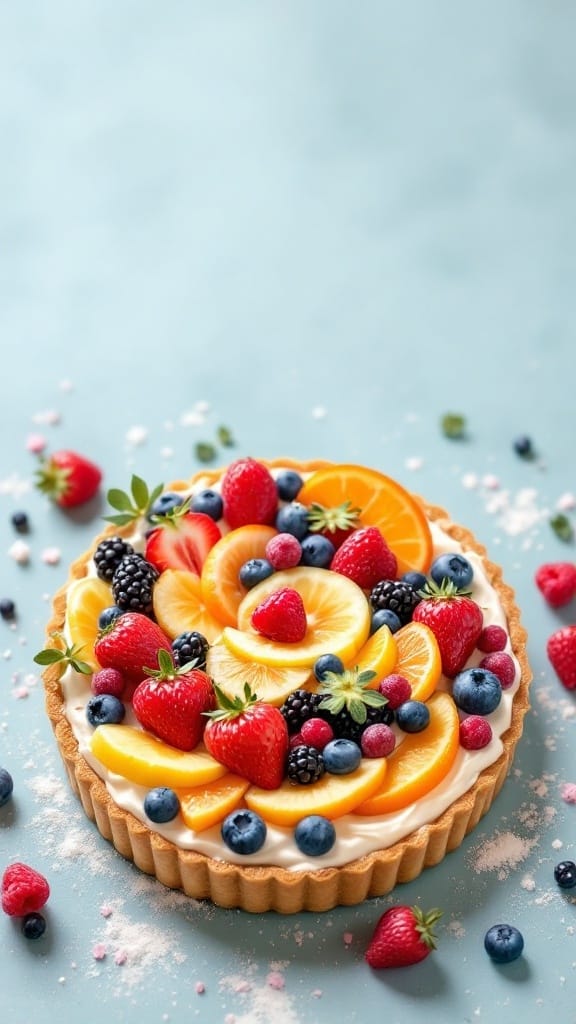
This Spring Fruit Tart with Vanilla Cream is a delightful dessert that captures the essence of springtime. It’s light, refreshing, and bursting with the flavors of seasonal fruits. The creamy vanilla filling pairs perfectly with the colorful fruits on top, making it a showstopper for any gathering.
Making this tart is simple and doesn’t require advanced baking skills. The buttery tart crust is easy to prepare, and the vanilla cream can be whipped up in no time. A sprinkle of fresh berries and citrus slices adds a vibrant touch. Whether you’re hosting a festive gathering or enjoying a quiet dessert moment, this tart is sure to impress.
Ingredients
- 1 1/4 cups all-purpose flour
- 1/4 cup powdered sugar
- 1/2 cup unsalted butter, softened
- 1 large egg yolk
- 2 cups mixed fresh fruits (strawberries, blueberries, blackberries, oranges)
- 1 cup heavy cream
- 1/2 cup mascarpone cheese
- 1/4 cup granulated sugar
- 1 teaspoon vanilla extract
Instructions
- Prepare the Crust: Preheat the oven to 350°F (175°C). In a bowl, mix flour and powdered sugar. Add softened butter and egg yolk, then mix until a dough forms. Press the dough into a tart pan and bake for 15-20 minutes until golden. Let it cool.
- Make the Vanilla Cream: In a mixing bowl, beat together heavy cream, mascarpone cheese, granulated sugar, and vanilla extract until soft peaks form.
- Assemble the Tart: Spread the vanilla cream evenly over the cooled crust. Top with an assortment of fresh fruits, arranging them as desired.
- Chill and Serve: Refrigerate the tart for at least 30 minutes before serving. Enjoy this refreshing treat!
Carrot Cake Cupcakes with Cream Cheese Frosting
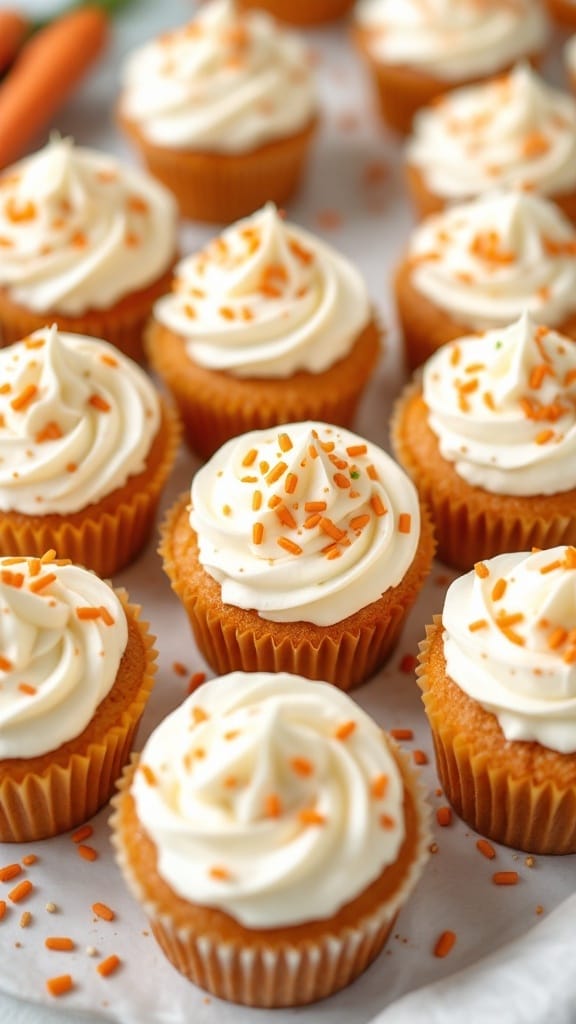
Carrot cake cupcakes are a delightful twist on the classic Easter dessert. With their moist texture and warm spices, they offer a hint of sweetness that perfectly balances the creamy frosting. These cupcakes are easy to make and are sure to bring smiles to your table!
The combination of fresh carrots and warm spices creates a comforting flavor, while the cream cheese frosting adds a rich, tangy finish. Topped with a sprinkle of colorful decorations, they are not only delicious but also festive.
Ingredients
- 1 1/2 cups all-purpose flour
- 1 teaspoon baking powder
- 1/2 teaspoon baking soda
- 1/2 teaspoon salt
- 1 teaspoon ground cinnamon
- 1/2 teaspoon ground nutmeg
- 1/2 cup vegetable oil
- 1 cup granulated sugar
- 2 large eggs
- 1 teaspoon vanilla extract
- 1 1/2 cups grated carrots
- 1/2 cup chopped walnuts (optional)
- 8 oz cream cheese, softened
- 1/2 cup unsalted butter, softened
- 2 cups powdered sugar
- 1 teaspoon vanilla extract (for frosting)
Instructions
- Preheat the oven to 350°F (175°C) and line a muffin tin with cupcake liners.
- In a bowl, whisk together flour, baking powder, baking soda, salt, cinnamon, and nutmeg.
- In another bowl, mix oil, sugar, eggs, and vanilla until smooth. Gradually add the dry ingredients to the wet mixture, stirring until just combined.
- Fold in the grated carrots and walnuts if using.
- Divide the batter evenly among the cupcake liners, filling each about two-thirds full. Bake for 18-20 minutes or until a toothpick inserted comes out clean.
- While the cupcakes cool, prepare the frosting. Beat together cream cheese and butter until smooth, then gradually add powdered sugar and vanilla until well combined.
- Once the cupcakes are completely cool, frost them generously with the cream cheese frosting. Decorate as desired and enjoy!
Pastel Layered Jello Cups
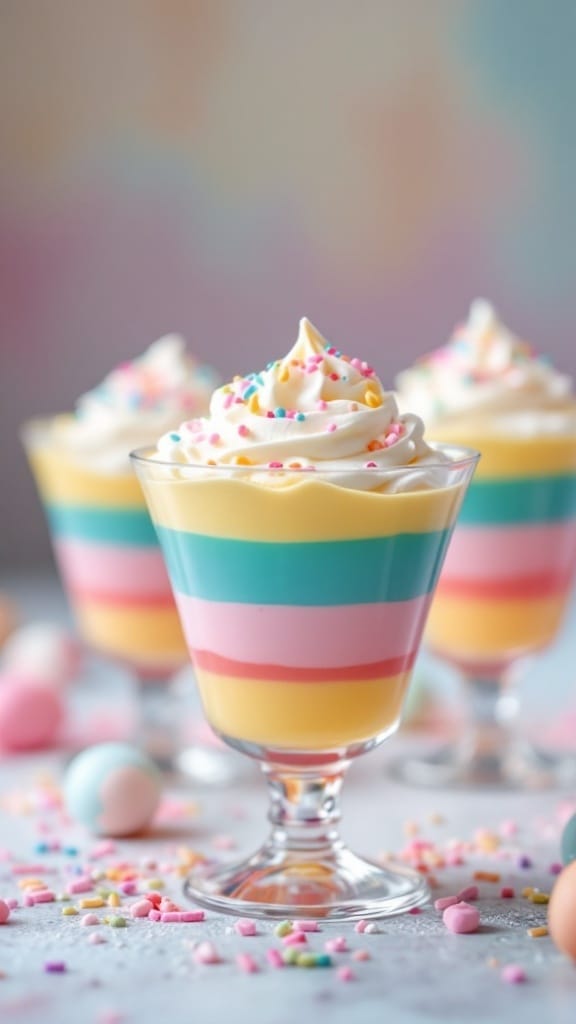
Pastel Layered Jello Cups are the perfect treat for any Easter gathering. These colorful cups bring a playful twist to your dessert table and are sure to delight both kids and adults alike. The combination of sweet, fruity flavors and the light, wobbly texture makes each spoonful a refreshing experience. Plus, they’re simple to make, requiring minimal ingredients and no baking!
Ingredients
- 3 different flavours of jello (e.g., strawberry, orange, lime)
- 1 can (14 oz) sweetened condensed milk
- 4 cups boiling water
- 2 cups cold water
- 1 cup hot water (for mixing with condensed milk)
- Whipped cream for topping (optional)
- Fresh fruit for garnish (optional)
Instructions
- Prepare the Jello: In separate bowls, dissolve each flavour of jello in 1 cup of boiling water. Stir until completely dissolved.
- Prepare the Dairy Mixture: In another bowl, mix the sweetened condensed milk with 1 cup of hot water. Stir well until smooth and fully combined.
- Mix Jello with Dairy for Pastel Effect: For each flavour, mix ½ cup of cold water into the dissolved jello. Then, add ½ cup of the condensed milk mixture to the jello and stir well. This will create the pastel look.
- Layer the Jello: In clear cups or a dish, pour the first pastel jello layer and refrigerate for about 20–30 minutes, or until slightly firm but not fully set. Repeat the process with the remaining flavours, ensuring each layer sets before adding the next.
- Final Chill & Serve: Once all layers are set, refrigerate for at least 2 hours before serving. Top with whipped cream and fresh fruit if desired.
Chocolate-covered Strawberry Bunnies

These Chocolate-covered Strawberry Bunnies are a fun and tasty treat perfect for Easter celebrations! With their sweet and juicy strawberries dipped in rich chocolate, they offer a delightful combination of flavors that everyone will love. Plus, they are incredibly simple to make, making them an ideal choice for both seasoned bakers and those just starting out in the kitchen.
The playful bunny design adds a whimsical touch to your dessert table. Each bite is a burst of chocolatey goodness mixed with fresh strawberry flavor, making them not only cute but also delicious. Gather your family and friends for a fun activity that can be enjoyed during the holiday season!
Ingredients
- 1 pound fresh strawberries
- 8 ounces semi-sweet chocolate, chopped
- 1 tablespoon coconut oil (optional, for smoother melting)
- Candy eyes
- Pink candy melts or fondant (for the noses)
- Edible flowers or green sprinkles (for decoration)
Instructions
- Prepare the Strawberries: Wash and dry the strawberries thoroughly. Ensure they are completely dry to help the chocolate adhere.
- Melt the Chocolate: In a microwave-safe bowl, combine the chopped chocolate and coconut oil. Heat in 30-second intervals, stirring in between, until fully melted and smooth.
- Dip the Strawberries: Hold each strawberry by the stem and dip it into the melted chocolate. Allow any excess chocolate to drip off, then place the dipped strawberry on a parchment-lined baking sheet.
- Create Bunny Features: Before the chocolate sets, add candy eyes and a small piece of pink candy melt or fondant for the nose. You can also add edible flowers or sprinkles for decoration.
- Let Them Set: Place the baking sheet in the refrigerator for about 30 minutes, or until the chocolate is firm. Serve chilled and enjoy your adorable chocolate-covered strawberry bunnies!

